Here is the Manual for the mixer:
Click to access e_dr-70d_rm_vb.pdf
Day before
AA x 4 NiMH batteries charged or have alkaline available
Batteries charged for three cameras – GH5 and Nikon
Memory cards available – suggest 64GB x 2 for each camera if used in duplicate
Settings for the Tascam DR-70D
This device is a 4 channel ‘recorder / mixer’
Getting the device ready for recording . . .
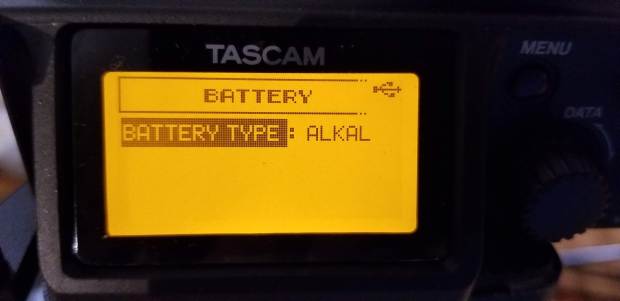
I suggest installing four new / mostly new or freshly charged AA batteries for a shoot. The 70D can take alkaline or NiMH. You should be sure the battery type in the menu matches the batteries that are installed. See below.
Overview – The 70D is both a mixer and four channel digital recorder. The channels are recorded on two files for each take and makes use of the left and right stereo channel to record an independent track.
Because inputs can be blended or ‘panned’ to more than one place you must ‘pan’ the ‘balance’ adjustment for each input all the way ‘left’ or ‘right’ in order to totally isolate each input in the final output file. Failure to do this will result in the inability to separate the four tracks in post. The 70D is set up this way because some may want to mix directly into just two tracks to avoid audio mixing in post or they may want to feed the ‘final’ mix directly into the camera’s audio input in real time.
I don’t believe that this mixer allows both blending to the camera track and track isolation as do some other mixers such as Sound Devices.
Physical gain control knobs on the D70 allow the user quick adjustment of inputs without any menu diving. I am concerned that I don’t know the scales on the real time VU meter. Perhaps it is documented somewhere and the D70 display is just too cheap to have enough display resolution show the scale. Other digital displays of this size are capable of this.
Menu – setup for our needs.
Display – note the features of the home screen display that are pertinent to proper function:
Batteries
External power
XLR connections
Headphone connection
T -24 hr or earlier
Equipment checklist
Checklist – Start here
Sound
Tascam Recorder Mixer
XLR Cables – 15 ft x 4 (really need 3 if channel 4 is wireless but will go to wired soon)
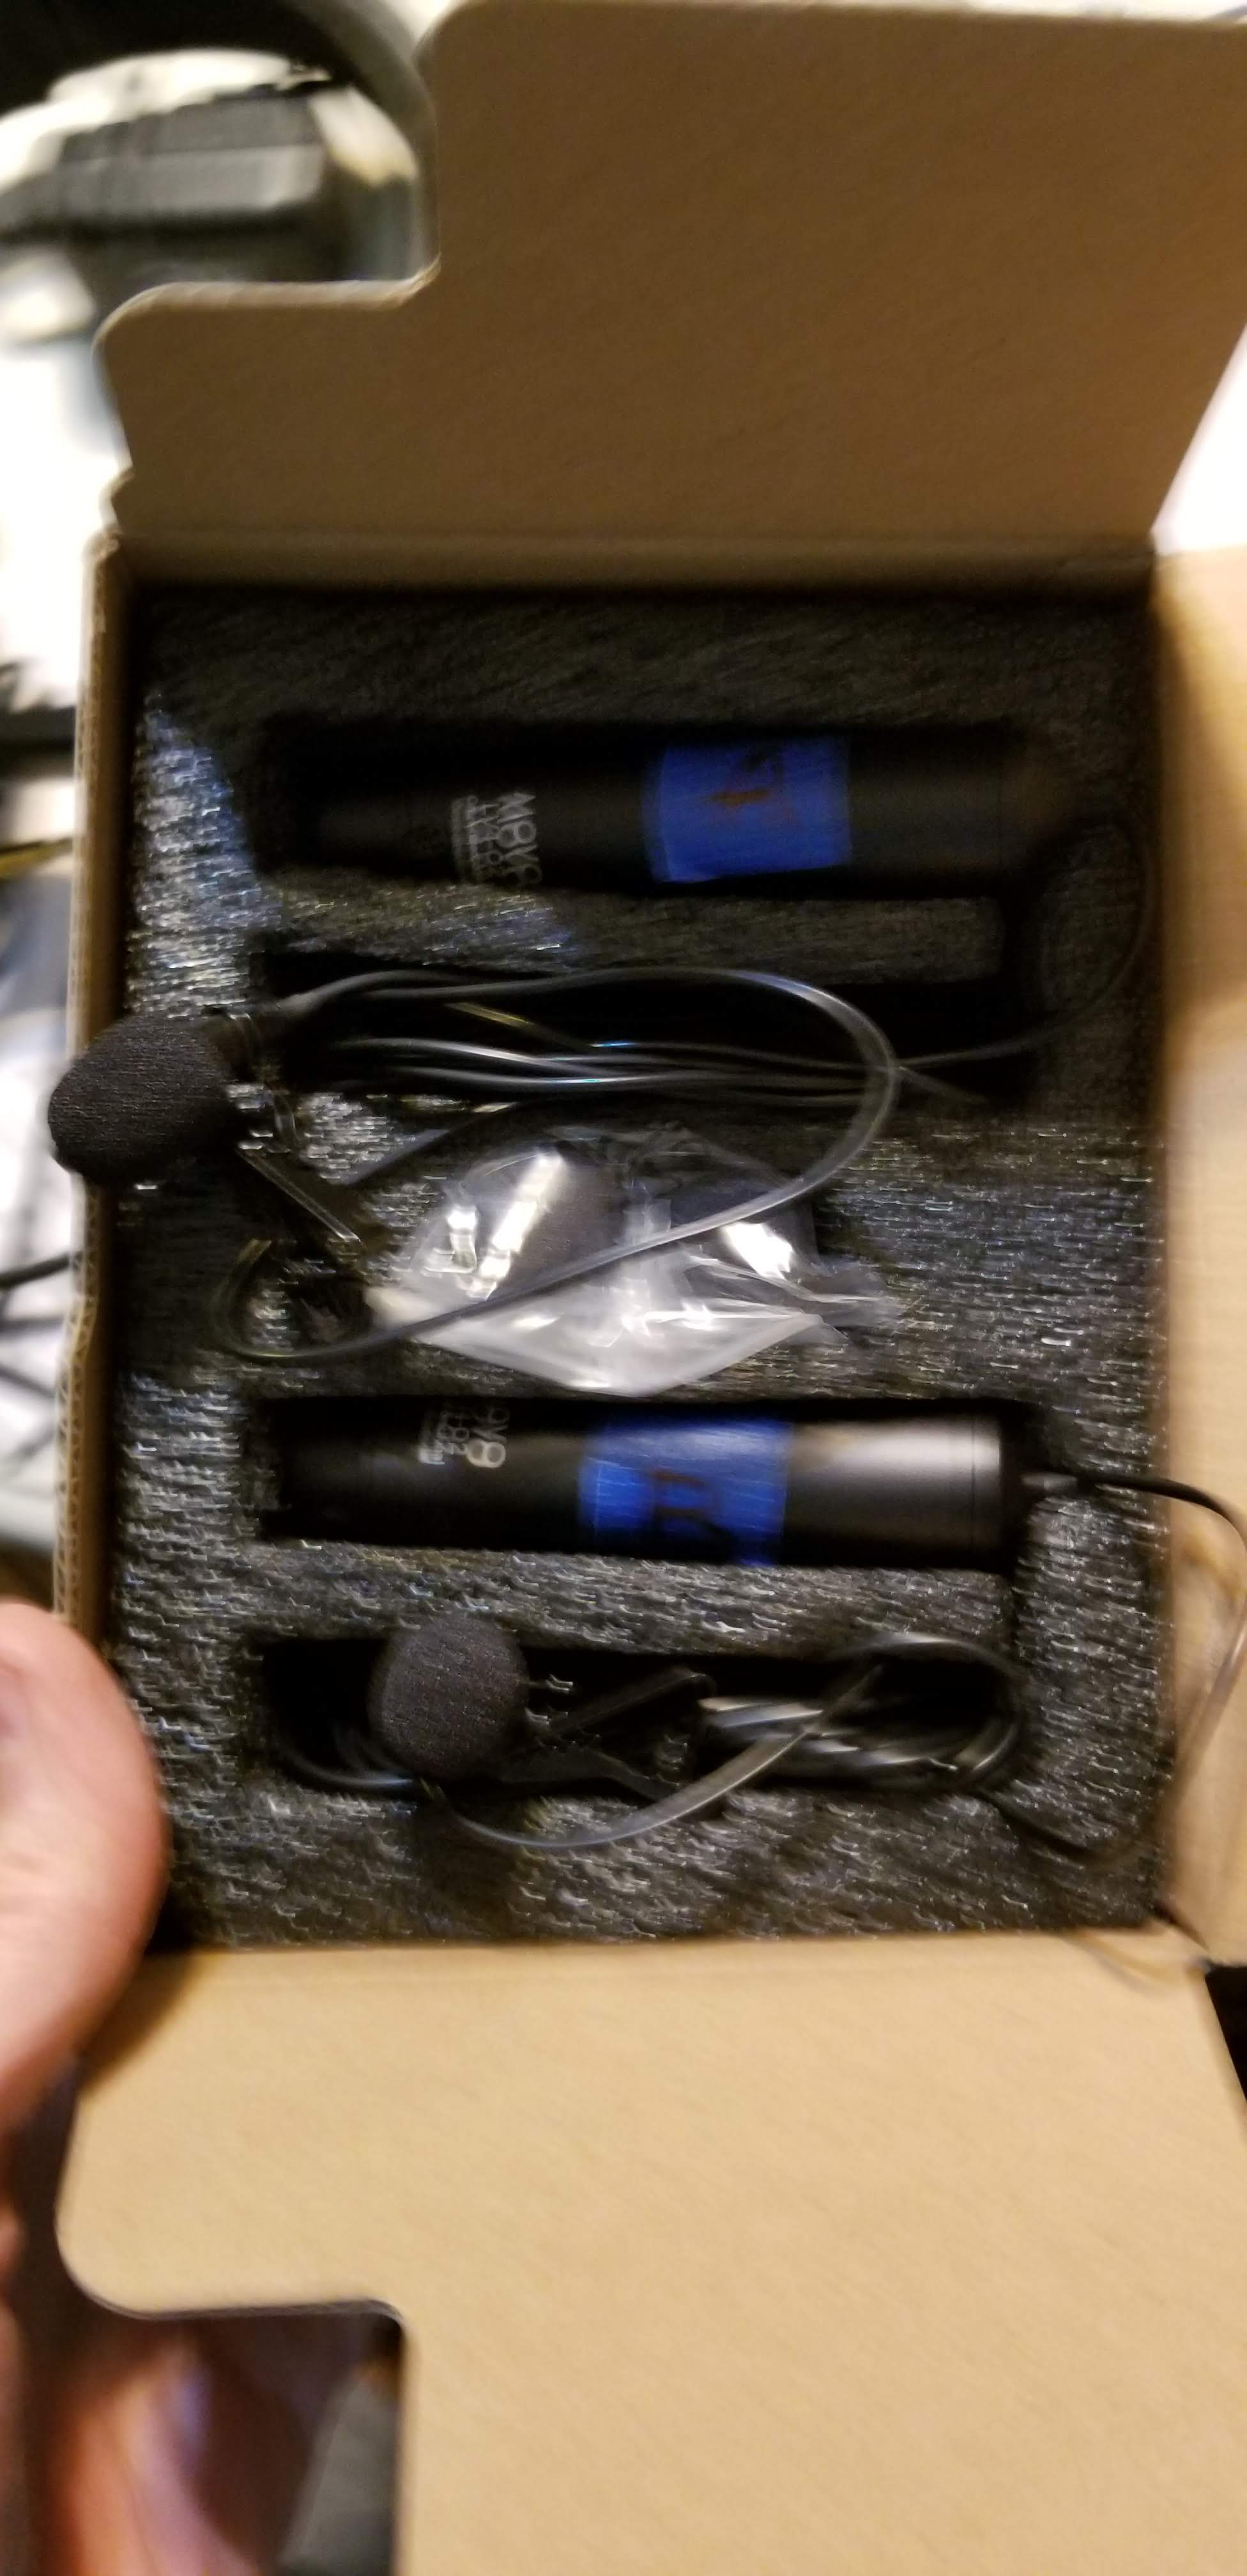
Movo Lav mics x 2 (in the box – may go with another pair soon)
Mic clips – should be on the mics but there are extras in a zip lock bag
Audio Technica Shotgun mic AT8035 – don’t need AA battery for phantom power
Rolling Mic stand for AT8035
Batteries
AA x 4 – either alkaline or NiMH – for Tascam
Components
Sound
Camera
Lighting
Quick setup – Start here
- When powering on, you may be asked to confirm that you want phantom power several times (once for each channel with phantom). Just click the rotary wheel for yes.
- Install batteries and / or verify that the internal AA batteries are functioning:
unplug the external power from the wall - power the unit on (slider R side of device – move it down for a second or so then release)
- verify the battery icon (R upper corner of display, I think)
Engage / activate ‘bus’ power (micro USB input on L side of the unit:
- micro USB connector is plugged into the unit
- power adapter is powered on
- verify USB power icon is showing in R upper display corner
- run the power cable across the top of the unit to the right to prevent dislodging
- consider taping the cable there with blue tape
You will be setting the channel for the following inputs:
- 1 – lav mic A
- 2 – lav mic B
- 3 – Shotgun mic
- 4 – Rhodelink wireless mic (may or may not be used – use when there are two guests)
Settings:
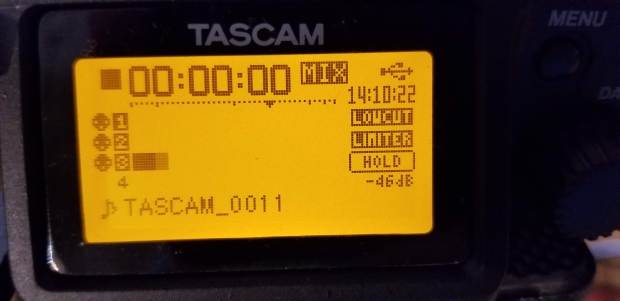
This is the appearance of the home screen you will want to get to. Use the ‘menu’ button and the rotary click button to do settings as follows if they are not already there.
The menu button then becomes the BACK button while in a menu.
The rotary button selects the item.

Click ‘menu’ button to get this
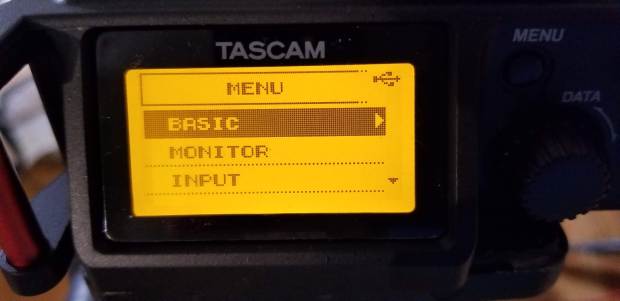
Select BASIC
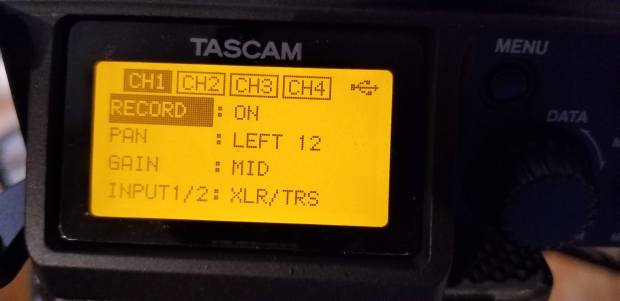
There are four channels. Each has four parameters.
Channel 1 should be set as shown above
Arrive at Channel 2 by continuous rotation of the knob past the 4th parameter.
Set Channel 2 the same EXCEPT PAN: RIGHT 12 should be the pan setting.
Channel 3 should look like this:
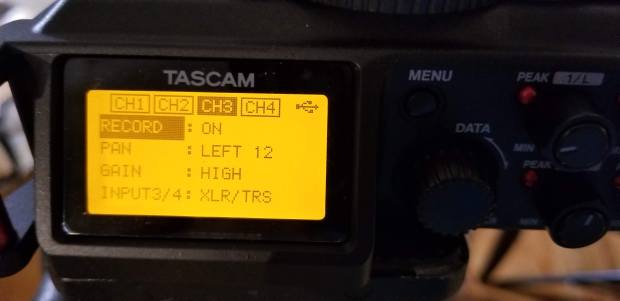
Note that channel 3 looks like channel 1 but the gain is HIGH
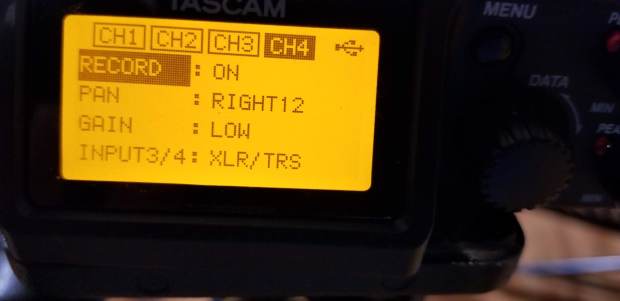
Channel 4 should look like this:
*** NOTE ***
- Channels 1, 2, 3, 4 alternate PAN LEFT12 and RIGHT 12
- RECORD MUST BE ON for all channels
- Gains as shown
- INPUT – set for XLR/TRS for all
Now go to the INPUT menu by clicking menu (remember ‘menu’ is the ‘back’ button) and get to this menu then select it with the rotary wheel: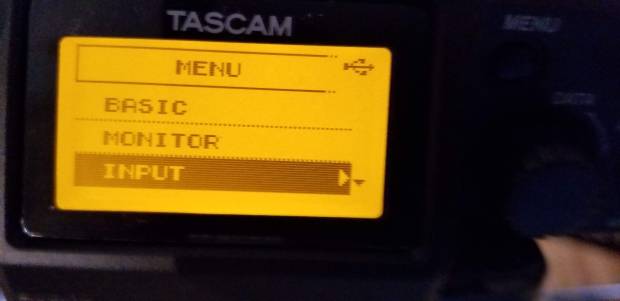
You want these settings for channel 1:
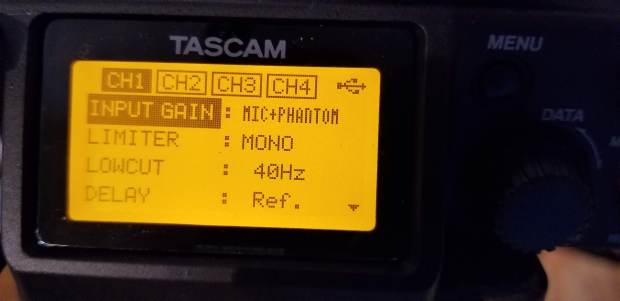
Mic is set to mic level plus phantom (it will ask you to confirm – click the rotary wheel)
Limiter is on and reads ‘MONO’
Low pass filter is on and reads 40HZ
Delay reads ‘Ref’ or ‘0ms’
There are other parameters on the next screen (scroll down) but these are not applicable but you will have to scroll to get the the next three channels.
- Channel 2 should be the same
- Channel 3 should be the same
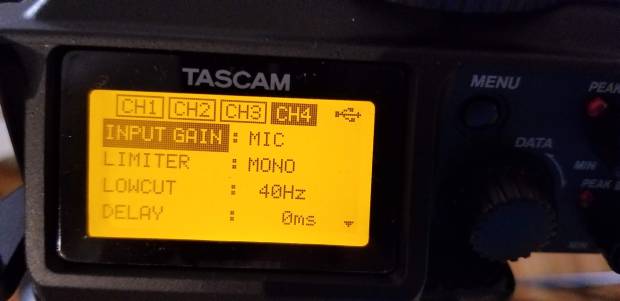
- Channel 4 is the wireless and it is the same except that it does not need phantom and should read like this:
Now go back to the main menu, which looks like this and select RECORD (slate is shown but select RECORD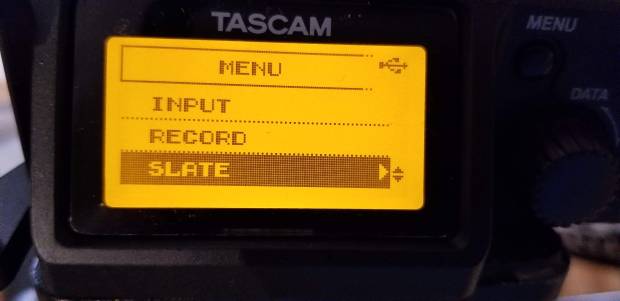
To get to the recording settings and select these parameters:
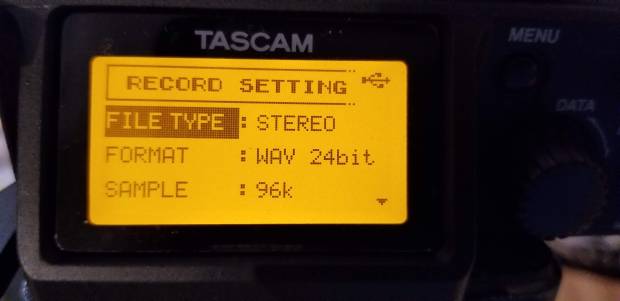
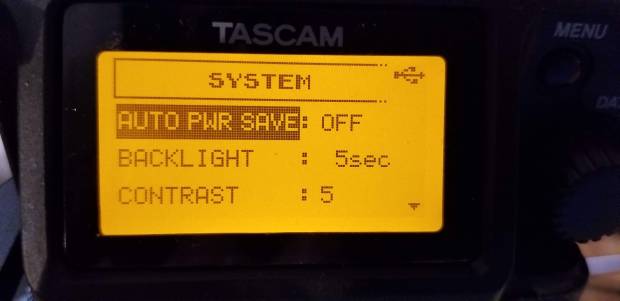
Go back to the main menu and select SYSTEM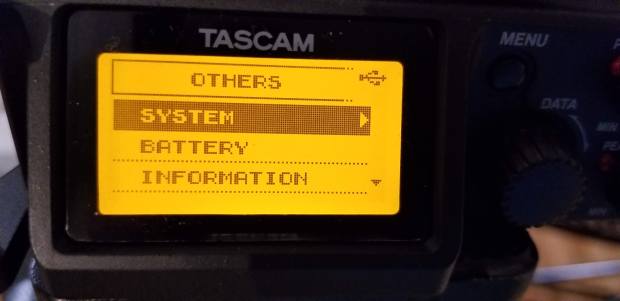
And select these parameters. There are others on the next screen down but not important.
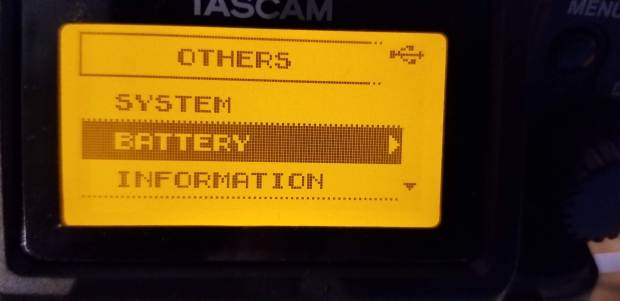
Next, go back to the main menu and select BATTERY and select the backup AA battery type you are using – ALKAL or NIMH
Menu items should now be good for recording.
Now – Cabling
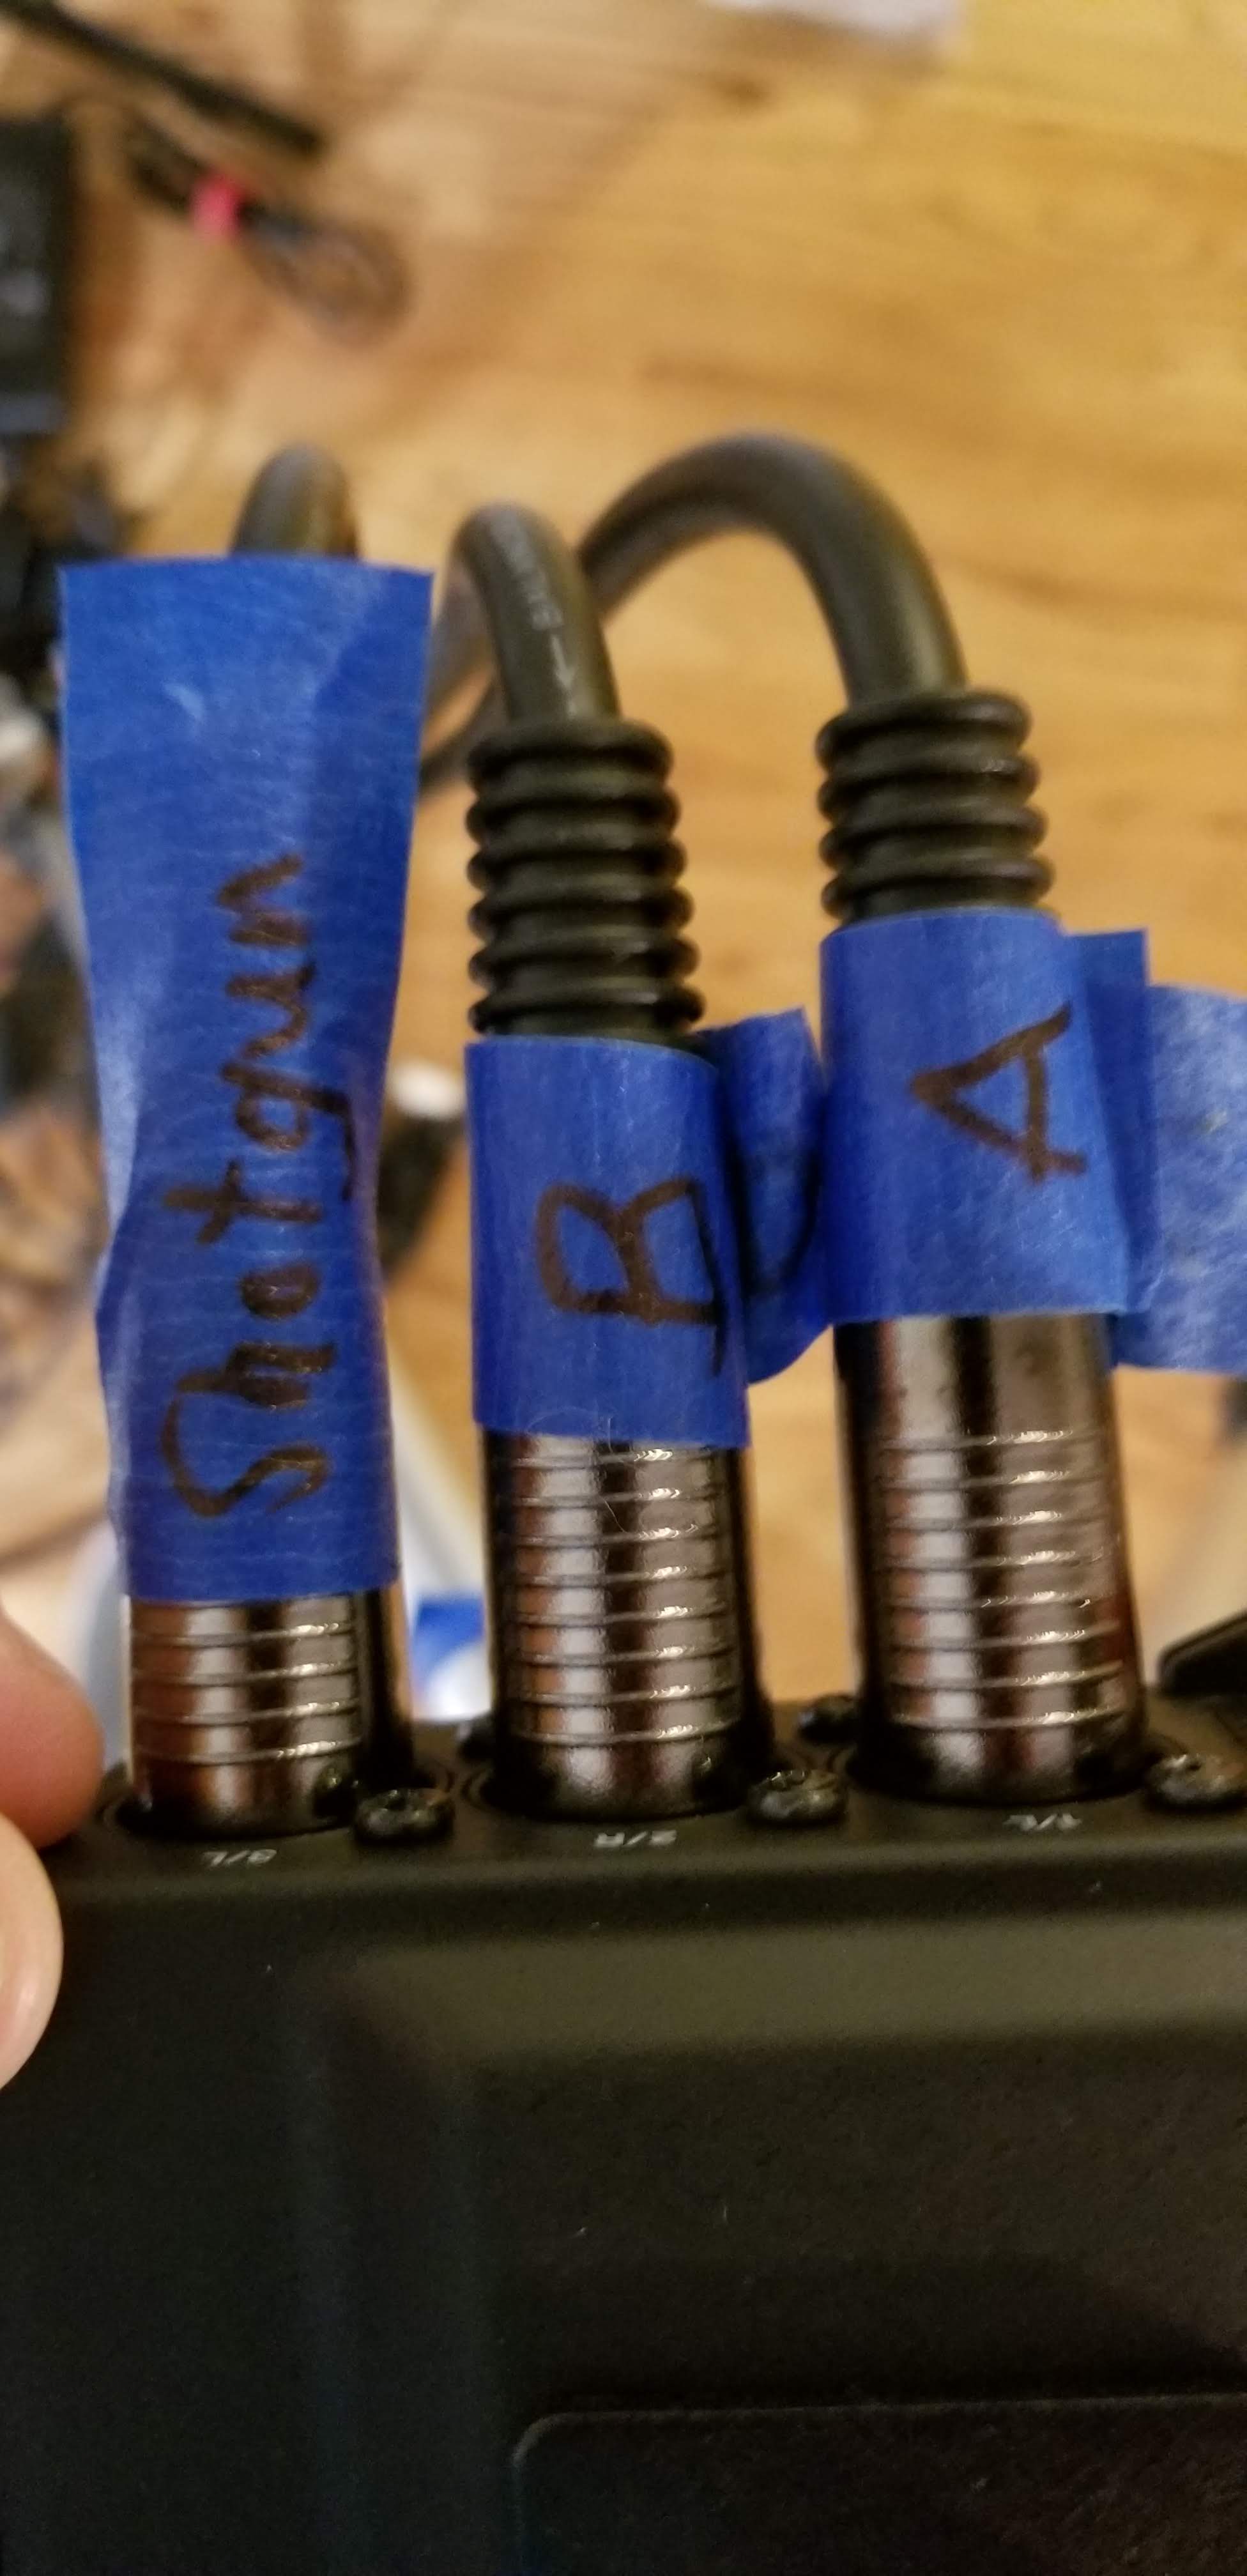
Plug in the XLR 15 foot labeled cables as shown: A, B, Shotgun into XLR 1,2,3
Note the ends of the Channel 1,2 cables should show A and B
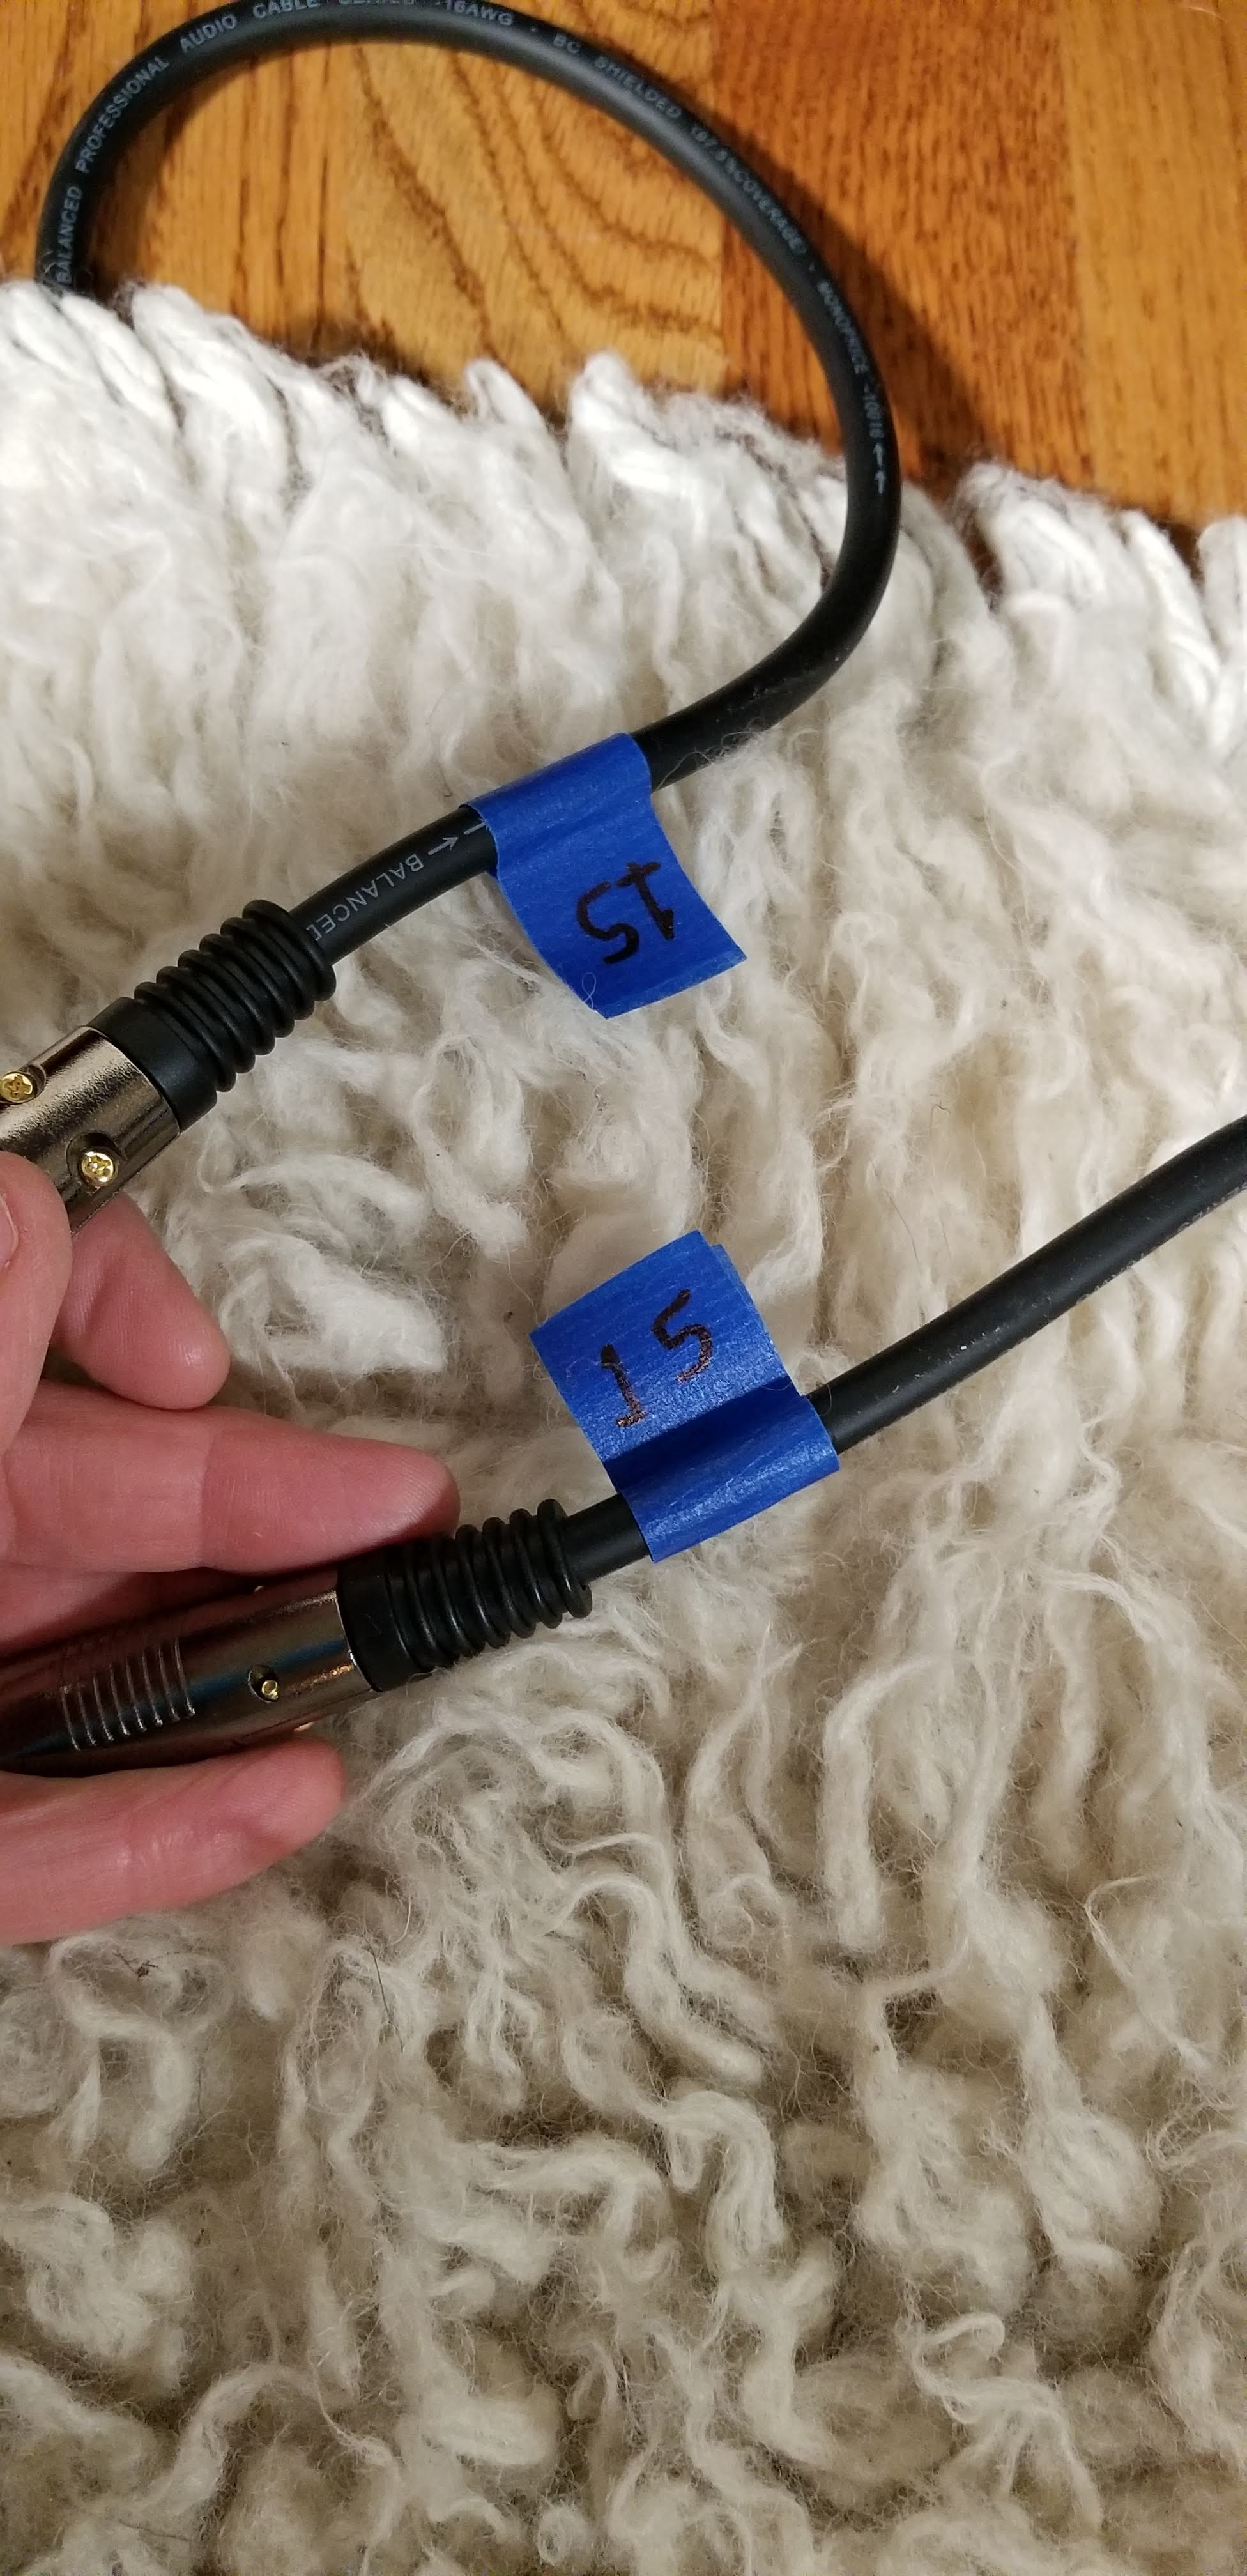
Well, that’s showing the cable length but I think there is also an A and B on them somewhere.
Get the Lav mics. Always keep them in the box.
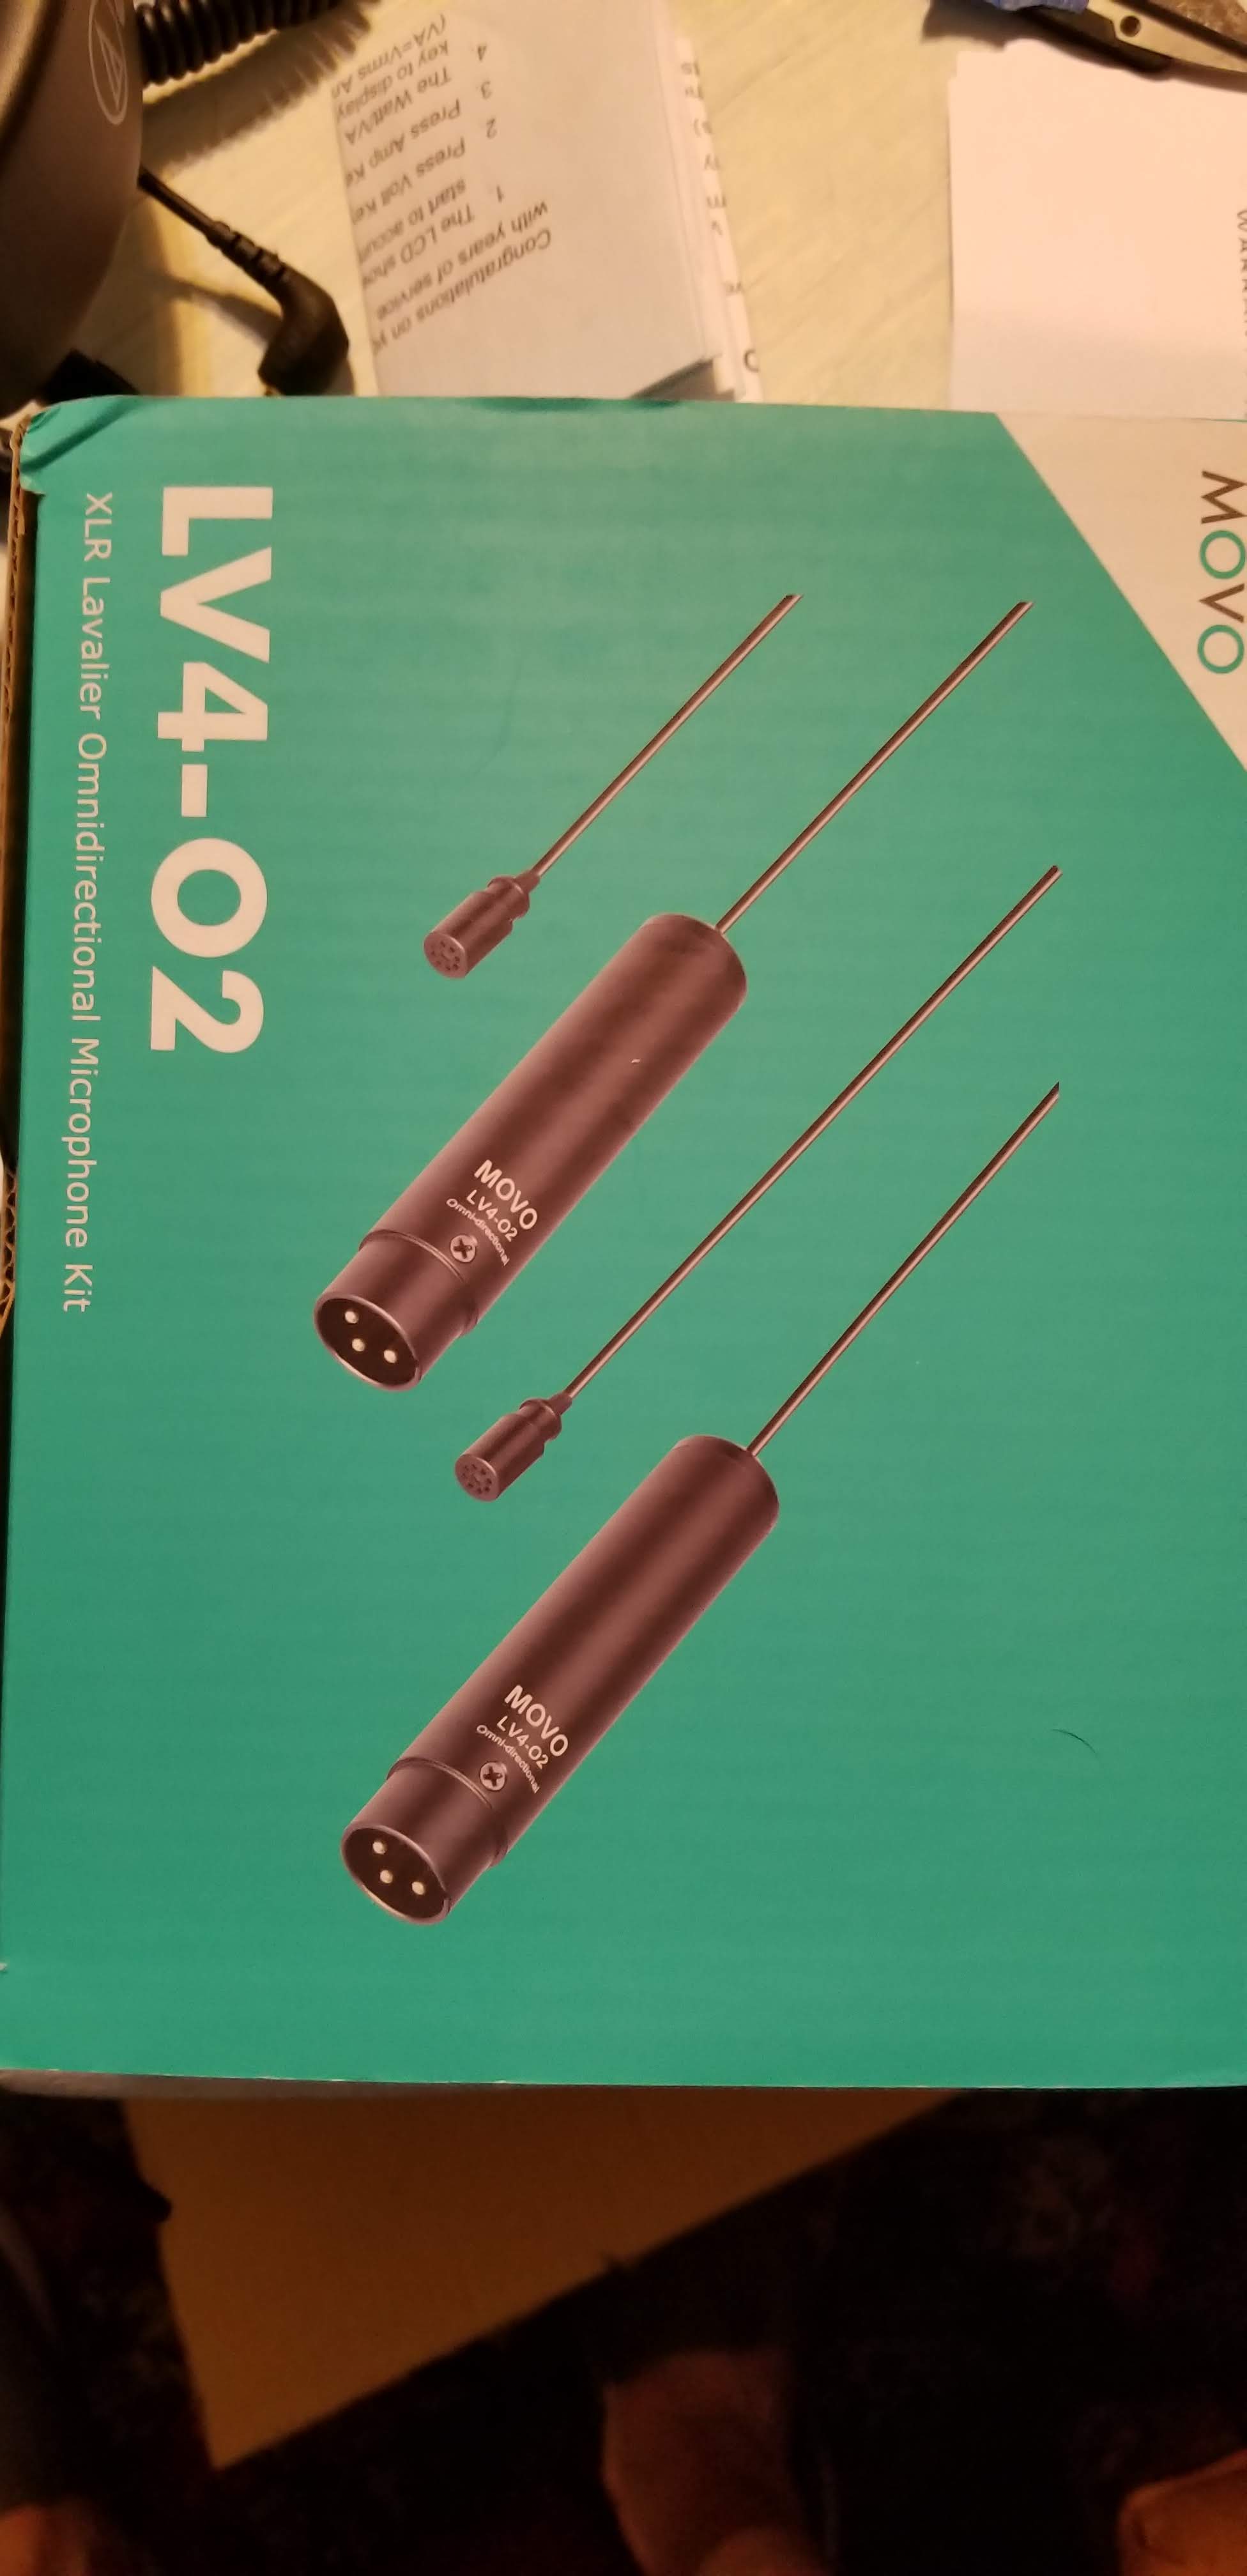
Put them into A and B.
- A will be interviewer
- B will be the guest
Set the analog gain dials on the mixer as shown:
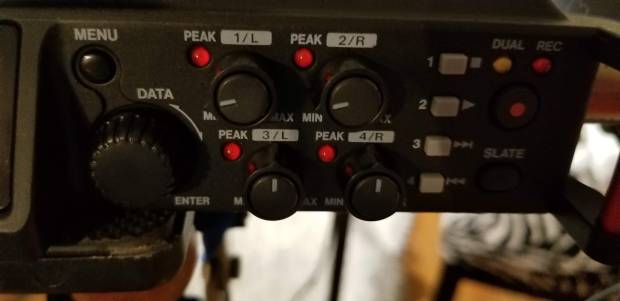
This seems to give good levels but, of course, can be adjusted. You want the VU meters to mostly run at the large mark on the display and not go past the end with loud conversation. See the large mark below the 00 on the right on the display.
The peak lights by each dial will light if you are high clipping audio.

4th channel, the wireless – I’ll do this later – won’t need it today.
Monitor with headphones, plugged in via the mini TRS jack on the left side of the Tascam.
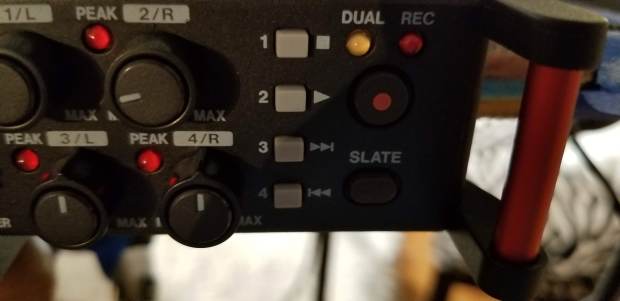
Start recording by pressing the RED record button on the front.
Make sure you are seeing the time counter RUNNING to confirm a state of recording.
Stop the recording by pressing the square stop button or, I think, by re-pressing RECORD
Memory card:
SD card – plug into the back where the batteries go.
